How to Meal Prep Grains
This post contains affiliate links.
If weekday cooking feels harder than it should be, then let me show you how to meal prep multiple grains efficiently, portion them properly, and store them safely so you can always have a solid base for bowls, salads, sides, and quick dinners.
With this approach, grains stay fluffy and reheat without turning mushy. The results are a fridge (or freezer) full of ready-to-use bases that make healthy meals feel almost effortless all week.
The Grains to Prep Each Week
Every grain is cooked using the "pasta method". All grains are boiled in plenty of salted water, drained, and cooled properly. There's no need for measuring ratios. No absorption guessing. No rinsing required.
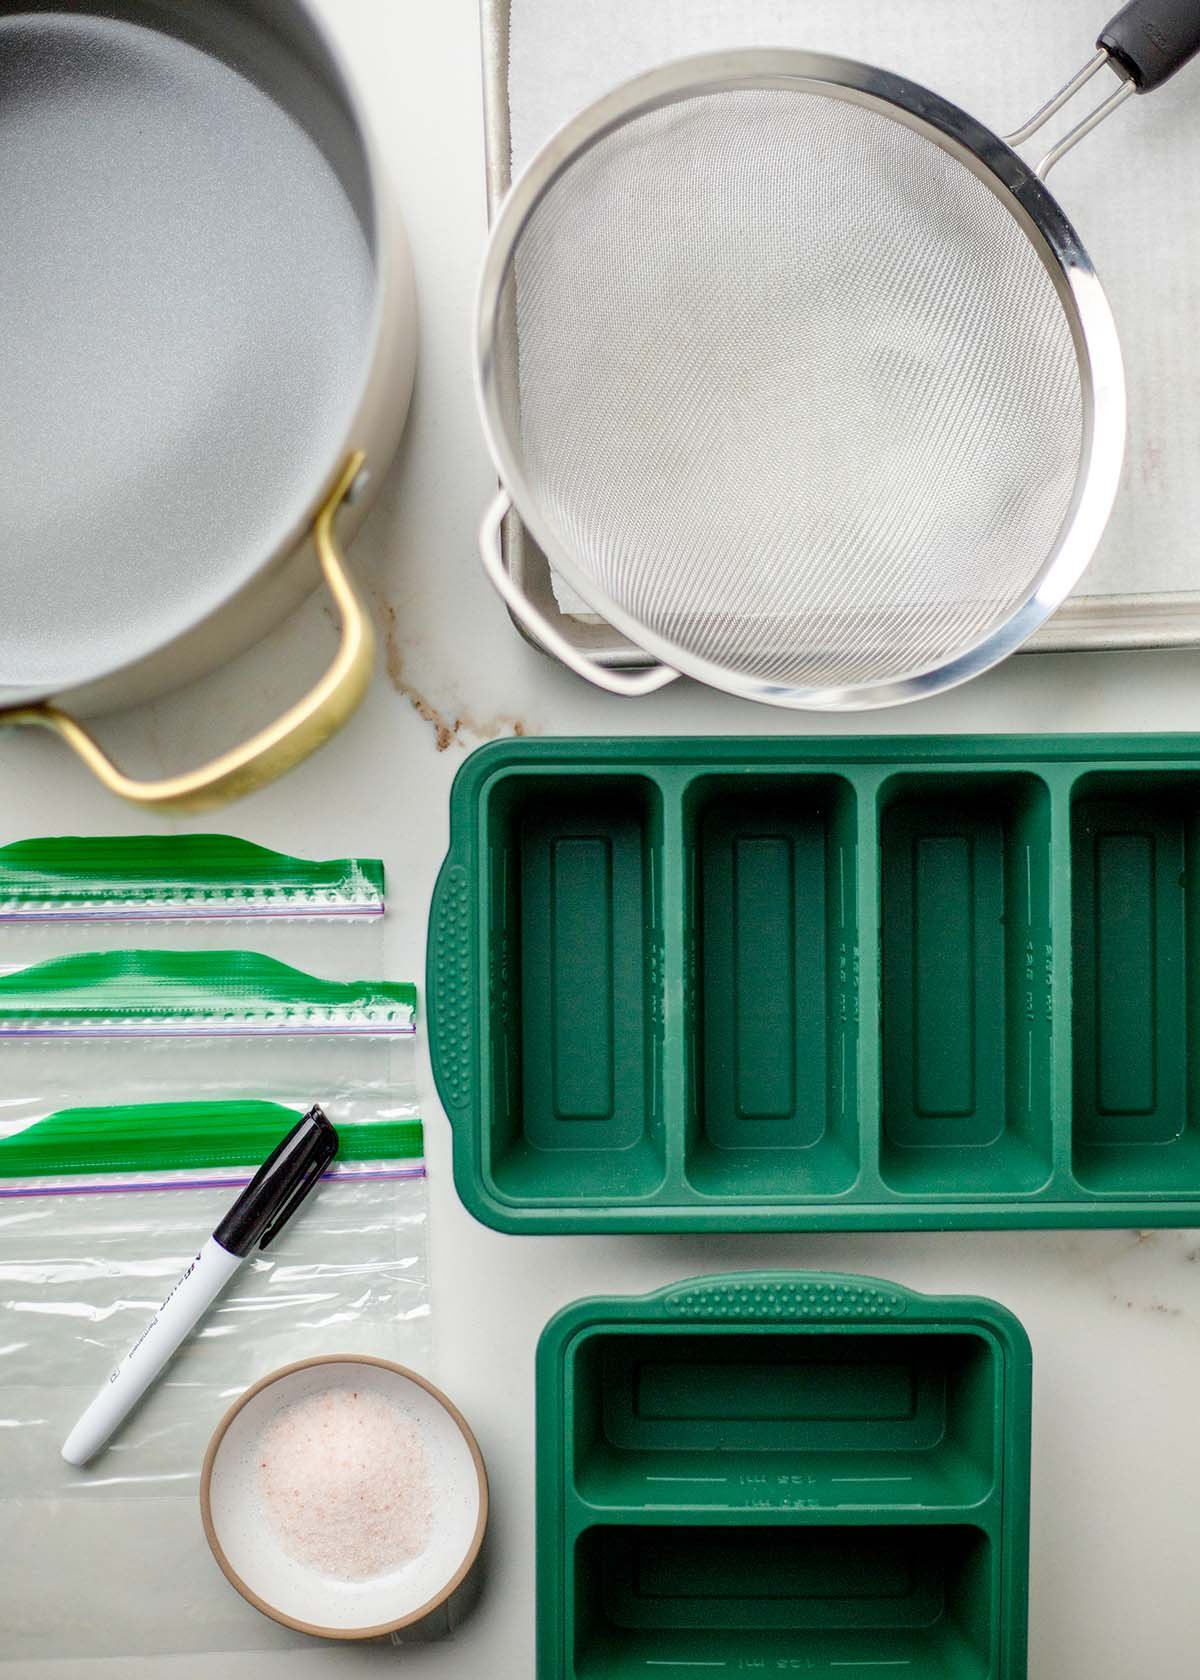
Prep Your Workspace, Grab Your Tools
First, start by having an essential workspace (5 minutes that saves 30!)
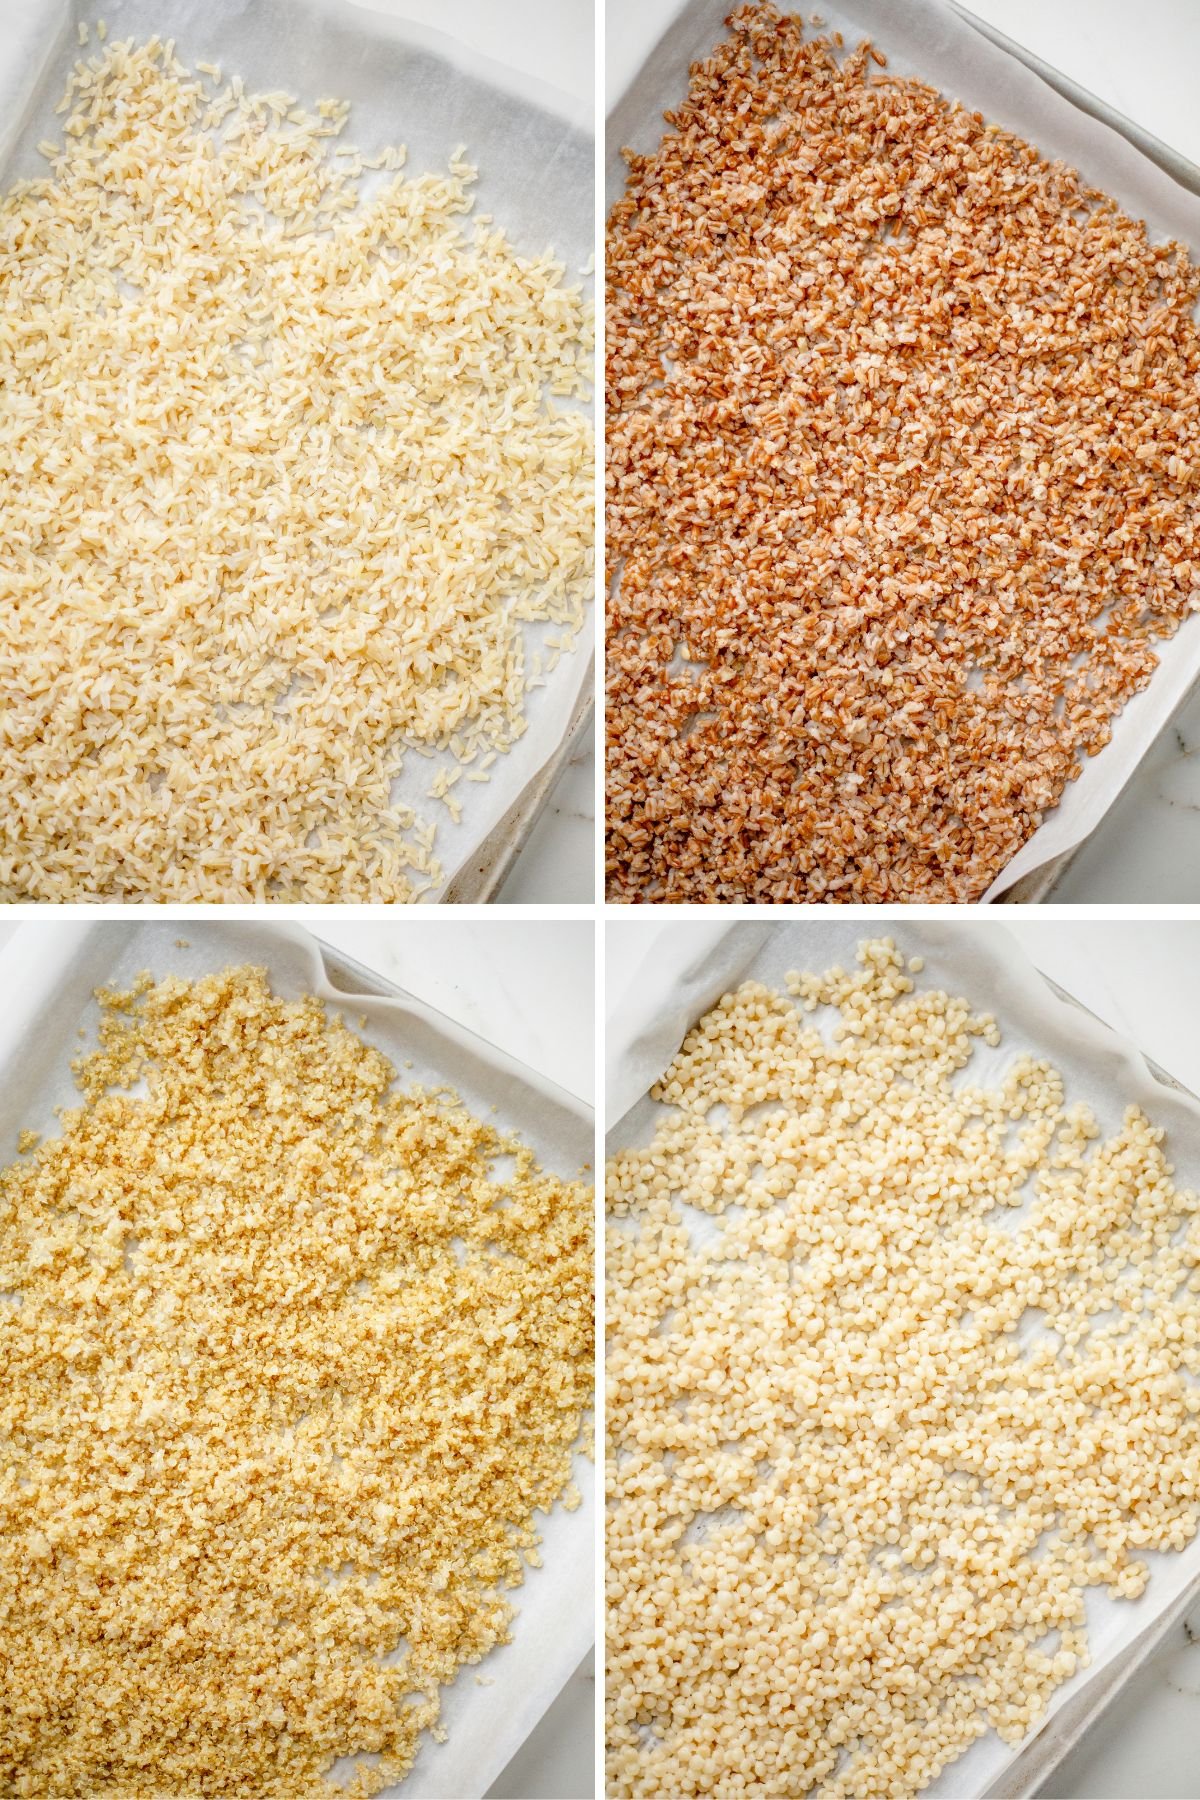
The key finishing steps for every grain are the same: strain well, then spread on a sheet pan to cool. This single step is what guarantees fluffy grains and helps cool them down quicker for storage.
Strategic Cooking Order
You can cook each grain separately, or you can have multiple pots going at once.
- Start with the longest grain first (Brown Rice - 35 min)
- Start the second longest 10 minutes later (Farro - 30 min)
- Start quinoa when farro has 12 minutes left
- Make the couscous last while others are cooling
How to Cook All Grains Using the Pasta Method

- Drop one grain at a time into generously salted boiling water.
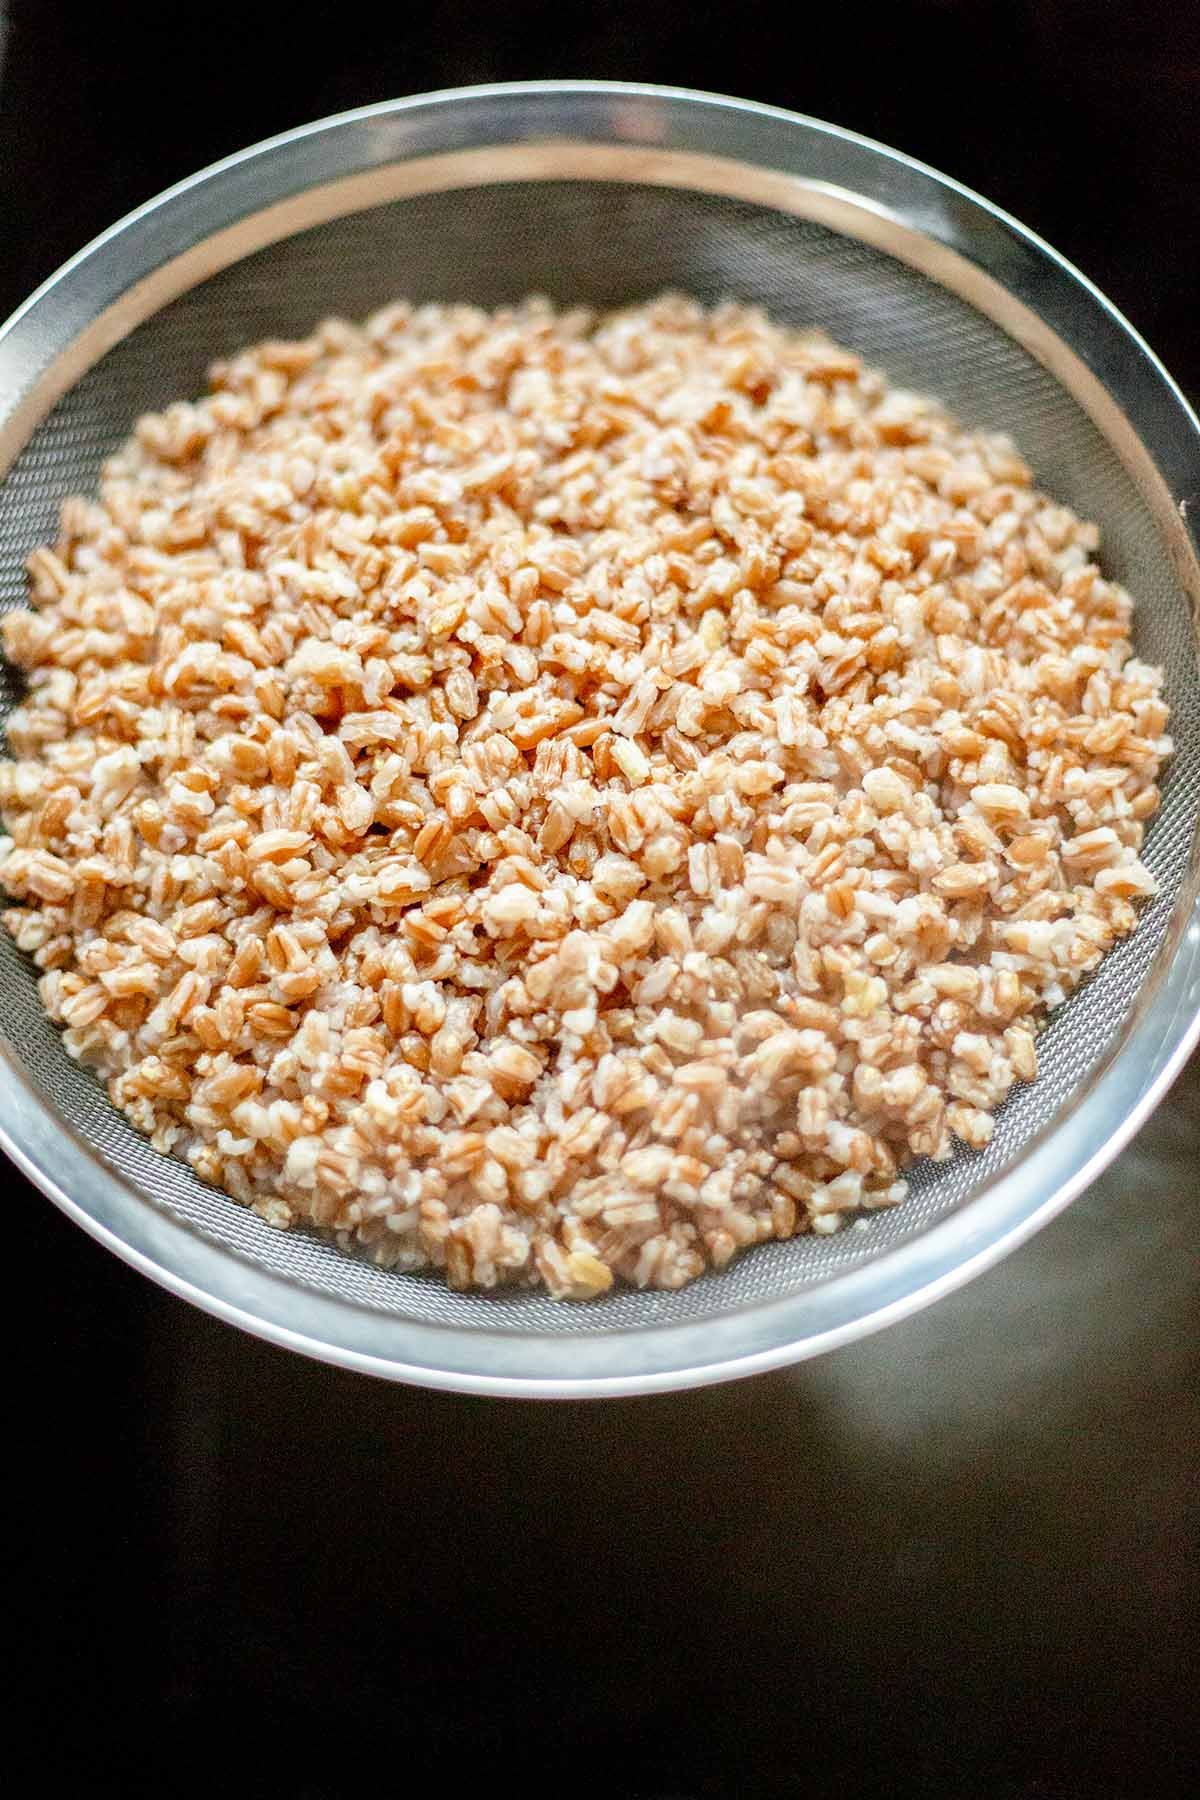
- Once cooked, drain through a fine-mesh strainer.

- Spread the grain on a sheet pan to cool, then transfer to storage containers or bags.
- Repeat the process for all grains.
Meal Prep Tip: Brown rice sets the pace for your prep session, so it should be the first grain you start.
High starch grains: While the couscous dries on the sheet pan, drizzle a little olive oil over it and stir to coat. This will help prevent the balls from sticking together.
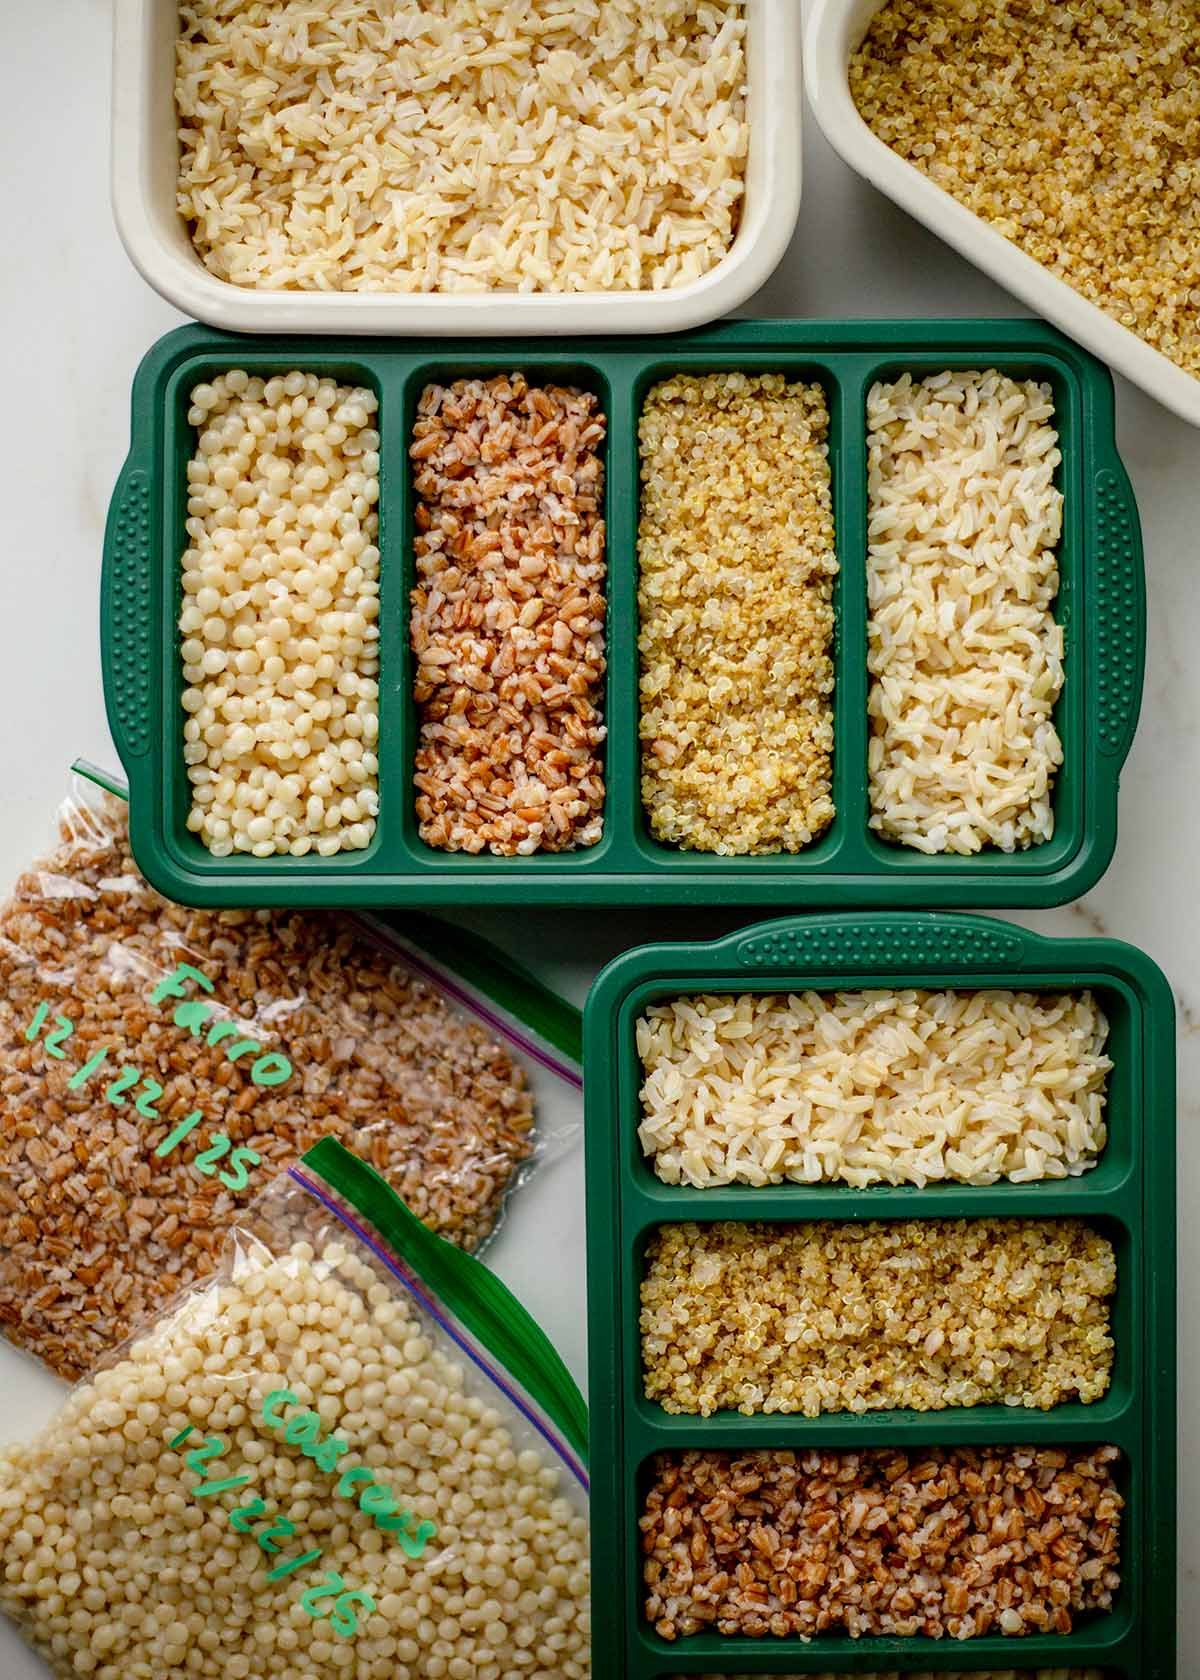
Prepping Grains for Storage
When it comes to storing your cooked grains, there are two easy approaches:
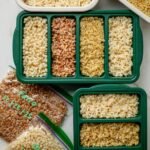
- Individual Portions (Best for singles or couples): Scoop about ½-¾ cup of each grain into its own container (or ziploc bag). Grab and enjoy on demand as needed.
- Bulk Storage (Best for families): Double the recipe and keep cooked grains in larger containers, and scoop out what you need at each meal.
Label EVERY container (or bag) with grain type and date cooked. After 3 days in the fridge, all grains look similar. Labels prevent mystery meals!
For me, these are going straight into my freezer! How do you plan to store your meal-prepped grains?
PrintHow to Meal Prep Grains
If weekday meals feel harder than they should, this simple grain meal prep system gives you a fridge or freezer full of fluffy, ready-to-use grains for bowls, salads, sides, and quick dinners.
- Yield: 4 cups cooked grains total 1x
- Category: Meal Prep
- Method: Pasta Method
- Cuisine: American
Ingredients
- 1 cup dry quinoa
- 1 cup dry farro
- 1 cup dry pearl couscous
- 1 cup dry brown rice
- Kosher salt
- Water (for boiling)
- Olive oil (optional, for couscous)
Instructions
- Clear counter space and set out sheet pans for cooling. Have a fine-mesh strainer, timers, and labeled storage containers or freezer bags ready. This step saves serious time later.
- For each grain, bring a large pot of well-salted water to a rolling boil. You want plenty of water so the grains cook freely, just like pasta.
- Add 1 cup of each grain to boiling water and cook uncovered until tender with a pleasant bite. There's no measuring ratios and no absorption guessing. Cook grains in order from longest to shortest cooking time if using multiple pots, or one at a time if preferred.
- Once a grain is cooked, pour it into a fine-mesh strainer and shake off as much excess water as possible. This step is key for fluffy texture.
- Spread each drained grain onto a sheet pan in an even layer. Let cool completely so steam escapes and grains stay separate instead of turning mushy.
- Once cooled, portion grains into individual containers (½-¾ cup) or store in larger containers for family-style use. Label with grain type and date.
Refrigerate for up to 4 days or freeze for longer storage. Reheat gently in the microwave or on the stovetop.
Notes
Nutrition will vary depending on which grain you prepare and how much you serve. For accurate nutrition information, calculate values based on the specific grain you're using.
Do you have the right kitchen tools?
Meal-Prep Containers & Tools
 Buy Now →
  Buy Now →
GreenPan Healthy Ceramic Cookware
Buy Now → Buy Now →
Thanks for sharing your tips. I don’t prep all the grains just quinoa and brown rice but your approach has been very helpful.